
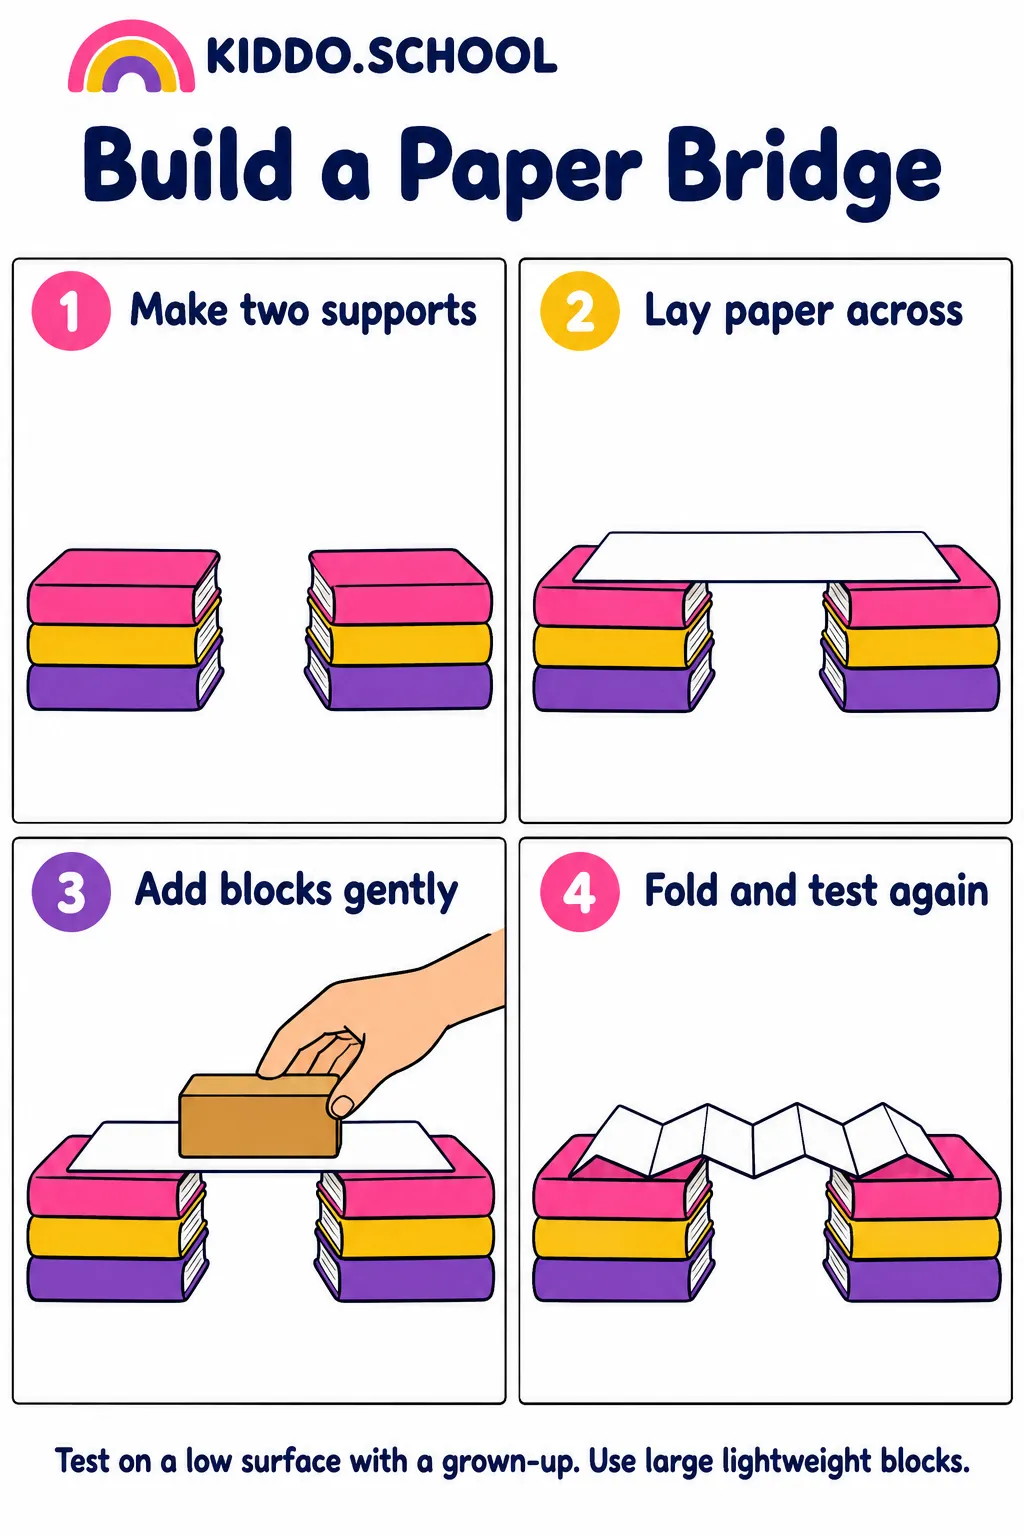
Look, then try.
Make two low, equal-height book supports with a small gap. Lay paper across with both ends resting securely on the books. Gently add identical lightweight blocks at the centre, one at a time. Stop when the paper bends noticeably or slips. For an accordion version, make alternating narrow folds with the ridges running from one support to the other. The cartoons show design ideas, not exact folding instructions.
Work with a grown-up on a low surface. Use large lightweight blocks and stable, low supports. Keep fingers clear if the bridge slips. Never stand on the model bridge.
Use a finger, stylus or mouse in each drawing box. Type below it, or ask a grown-up to write your words. Your work stays in this tab. Save before refreshing or leaving.
My setup
Draw your two supports and the paper spanning the gap.
My folding plan
Draw folds that run from one support to the other.
Your ideas belong here. There is no score.
What are we learning?
Folding changes how paper resists bending. Results also depend on fold direction, paper, gap and block placement.
Prefer a worksheet?
Open the individual cartoon activity sheet to print or save. Use portrait orientation and fit to page.
Open worksheet to save ↓Try another bridge activity.
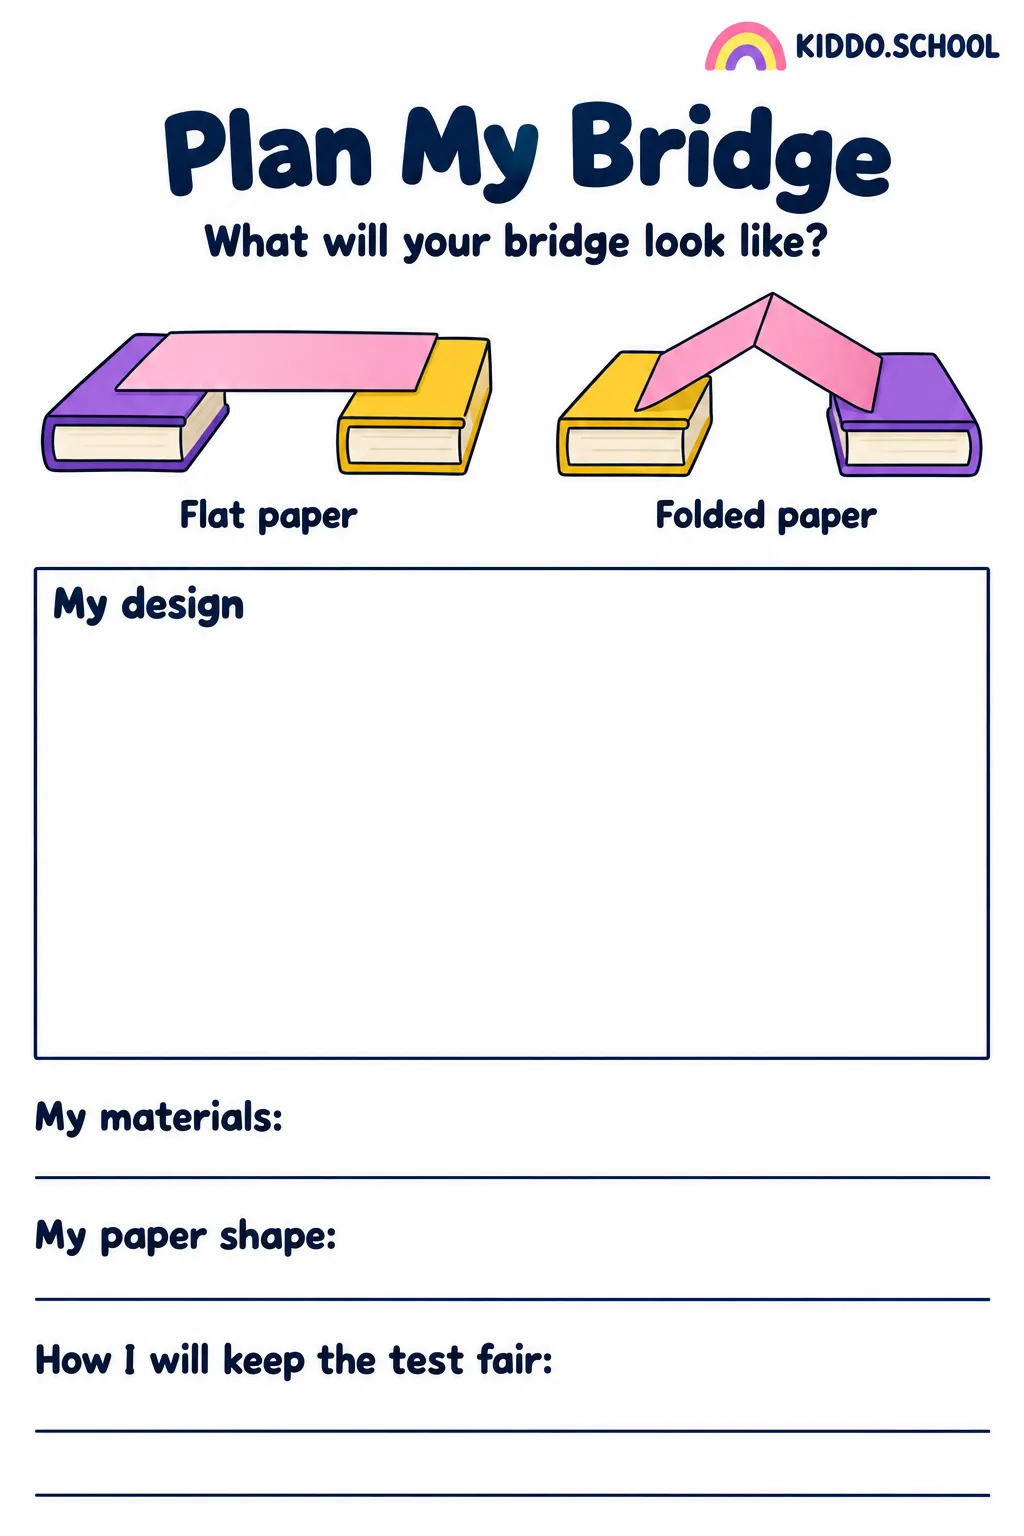 Plan My Paper Bridge
Sketch a bridge and decide how you will compare it fairly.
Draw · Type · Save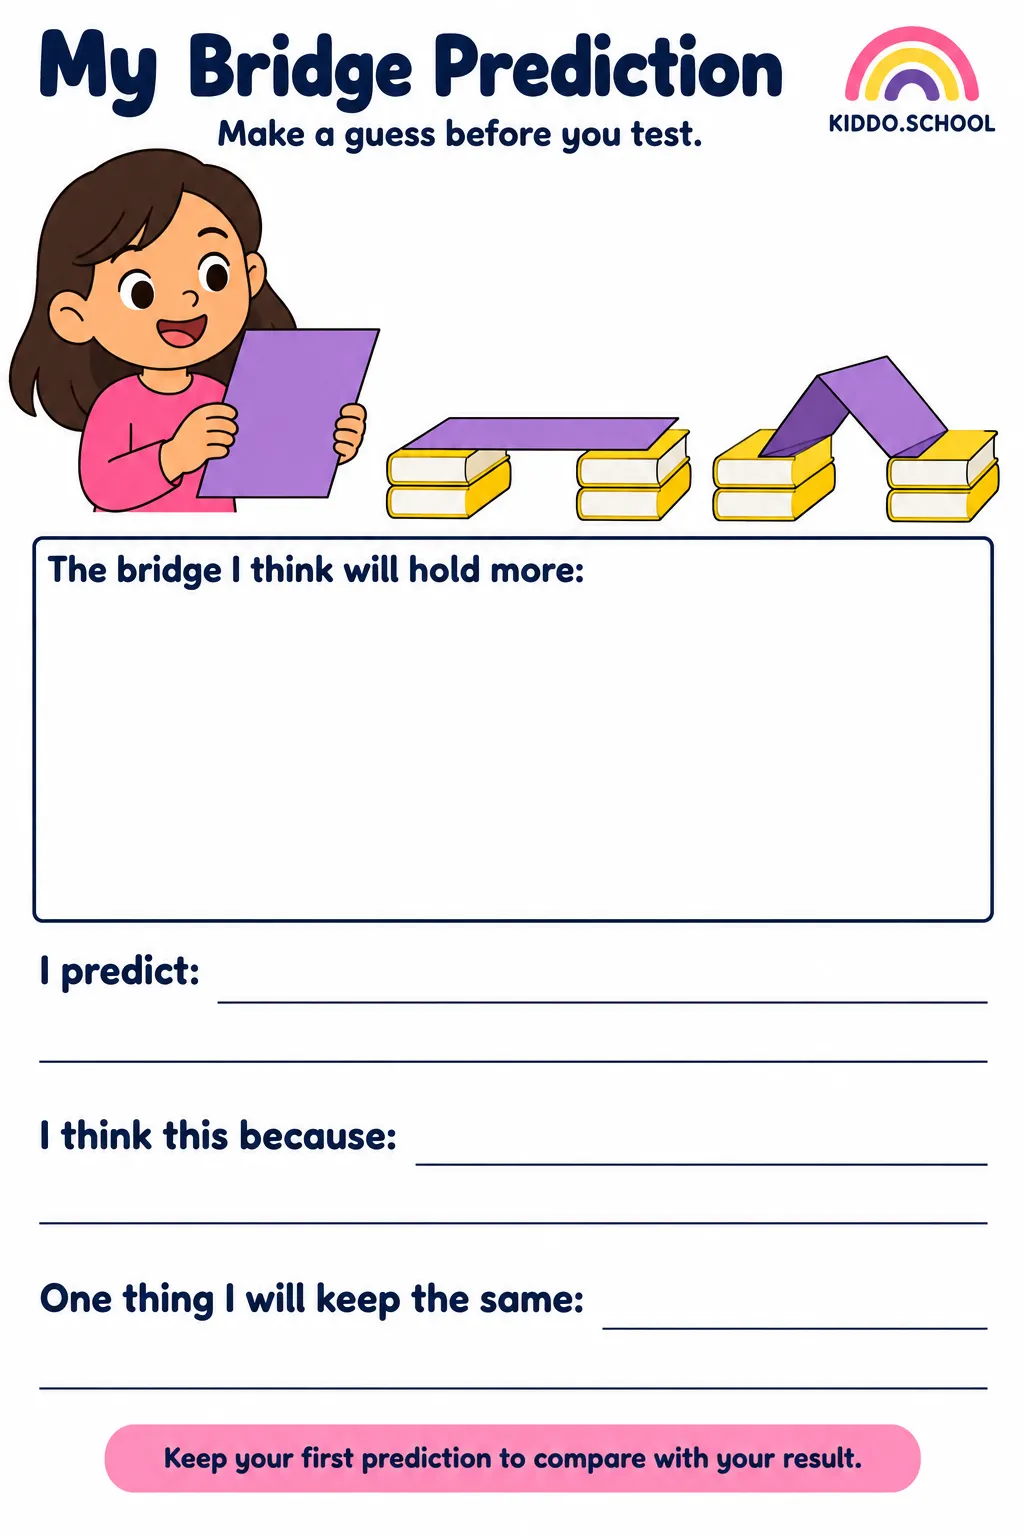 My Bridge Prediction
Predict what will happen before putting blocks on your bridge.
Draw · Type · Save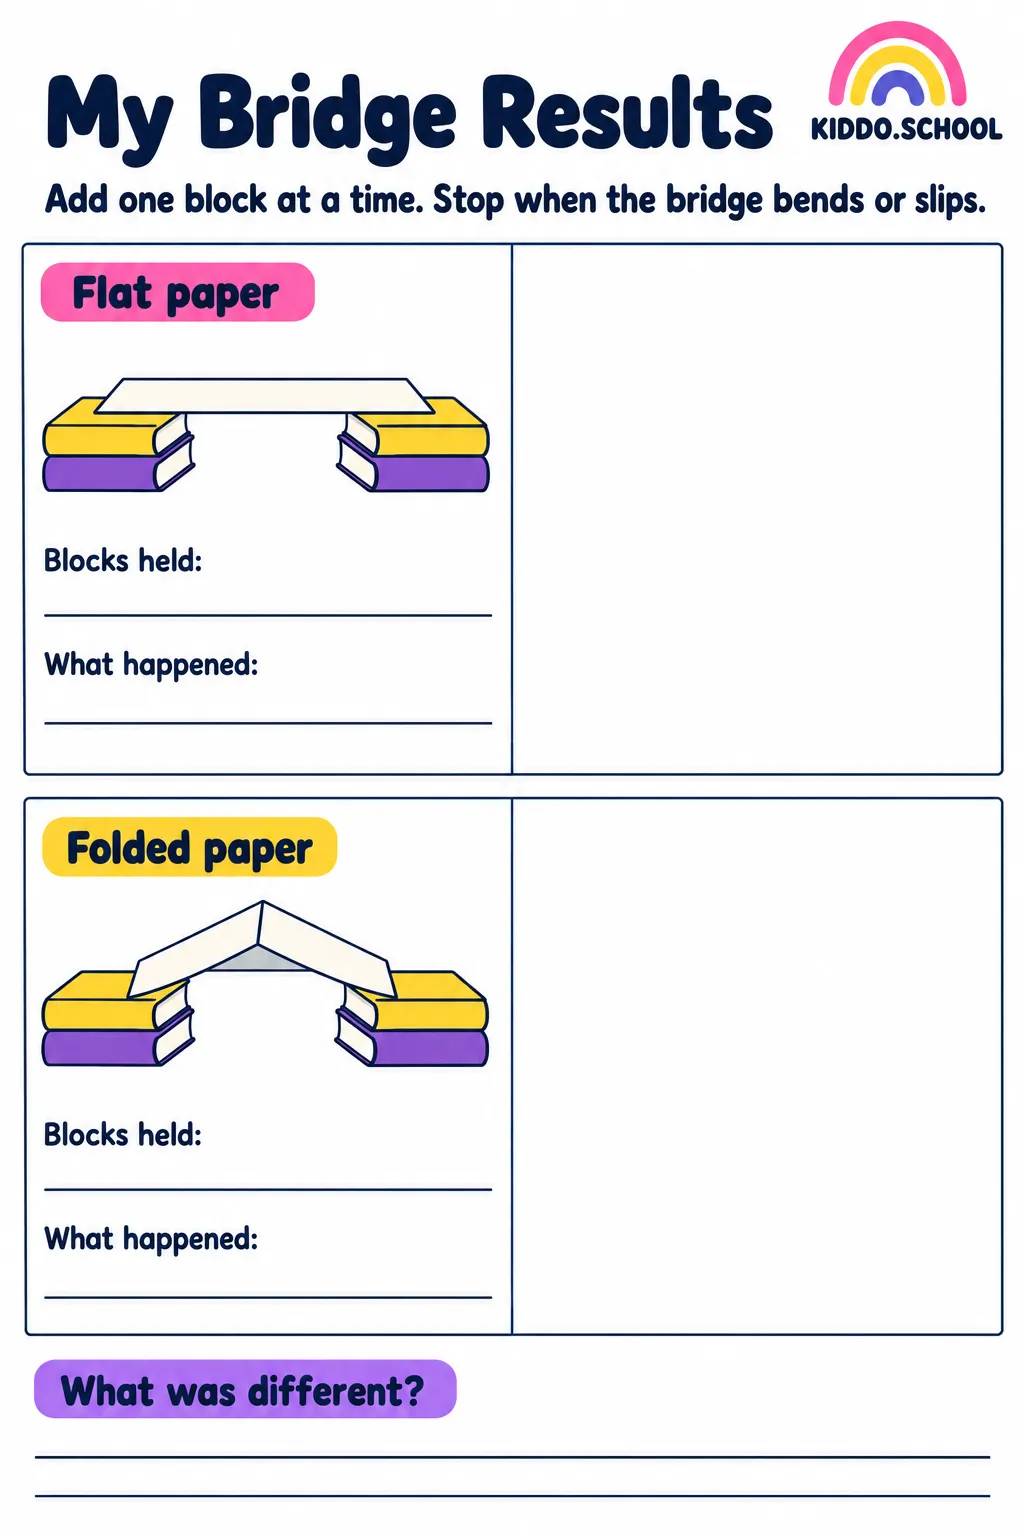 My Bridge Test Results
Record what your flat and folded bridges actually hold.
Draw · Type · Save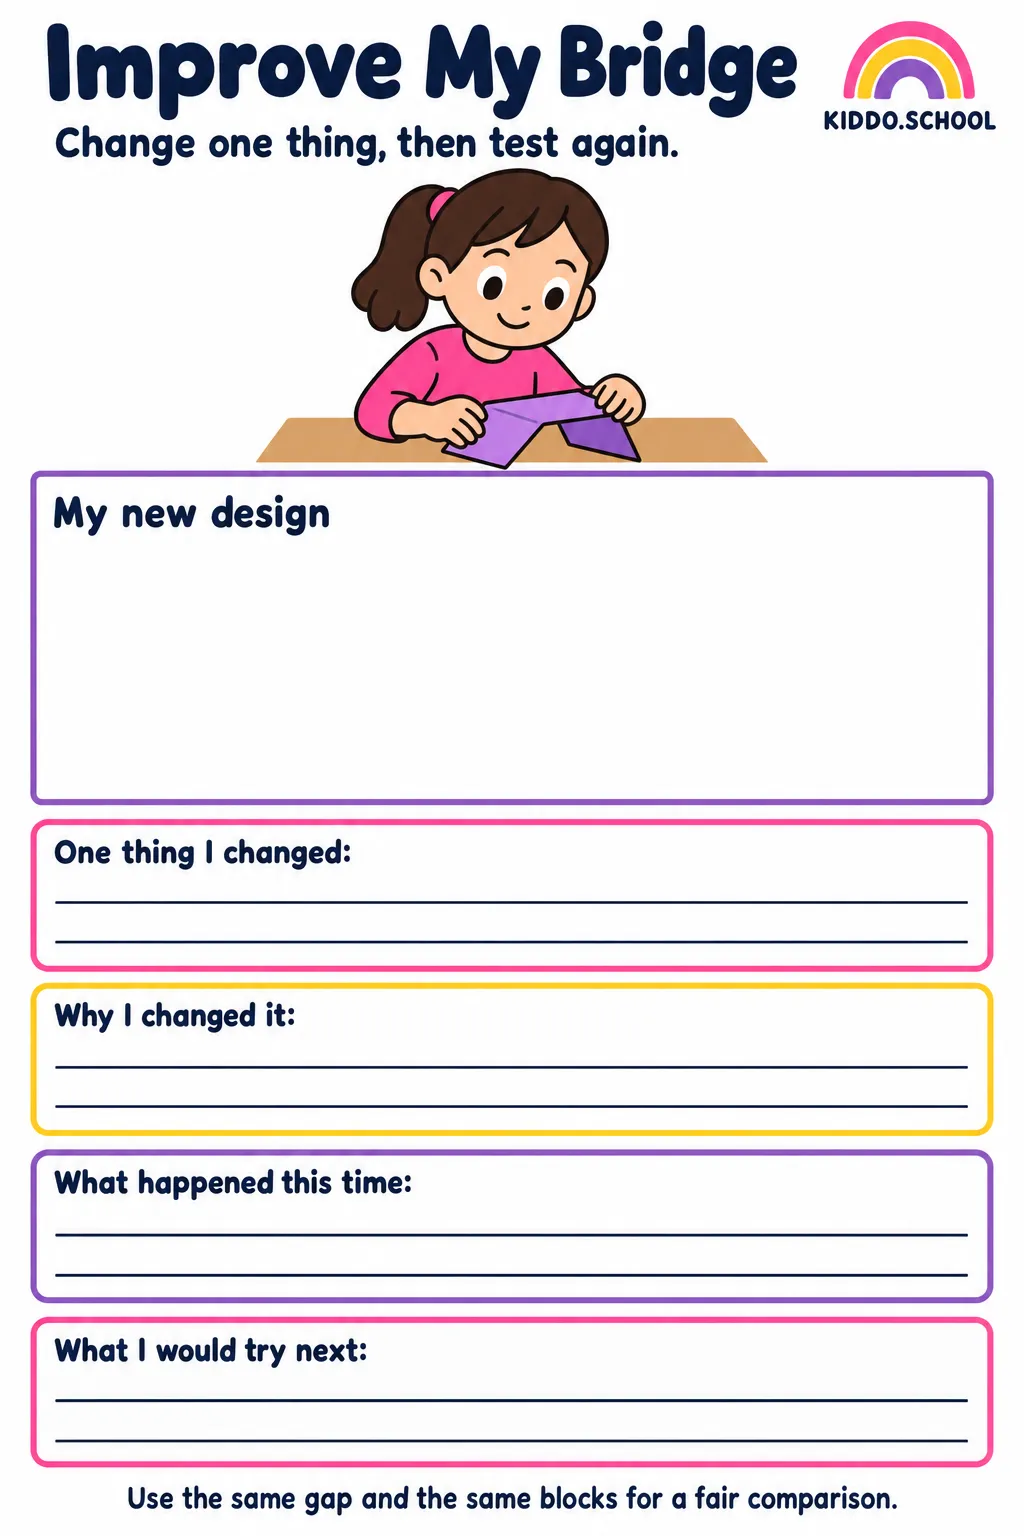 Improve My Paper Bridge
Change one feature and see what happens in another test.
Draw · Type · Save