Six big steps from one circle to a finished cat. All you need is paper, a pencil and your favorite colors — crayons work too.
Step 1 of 6
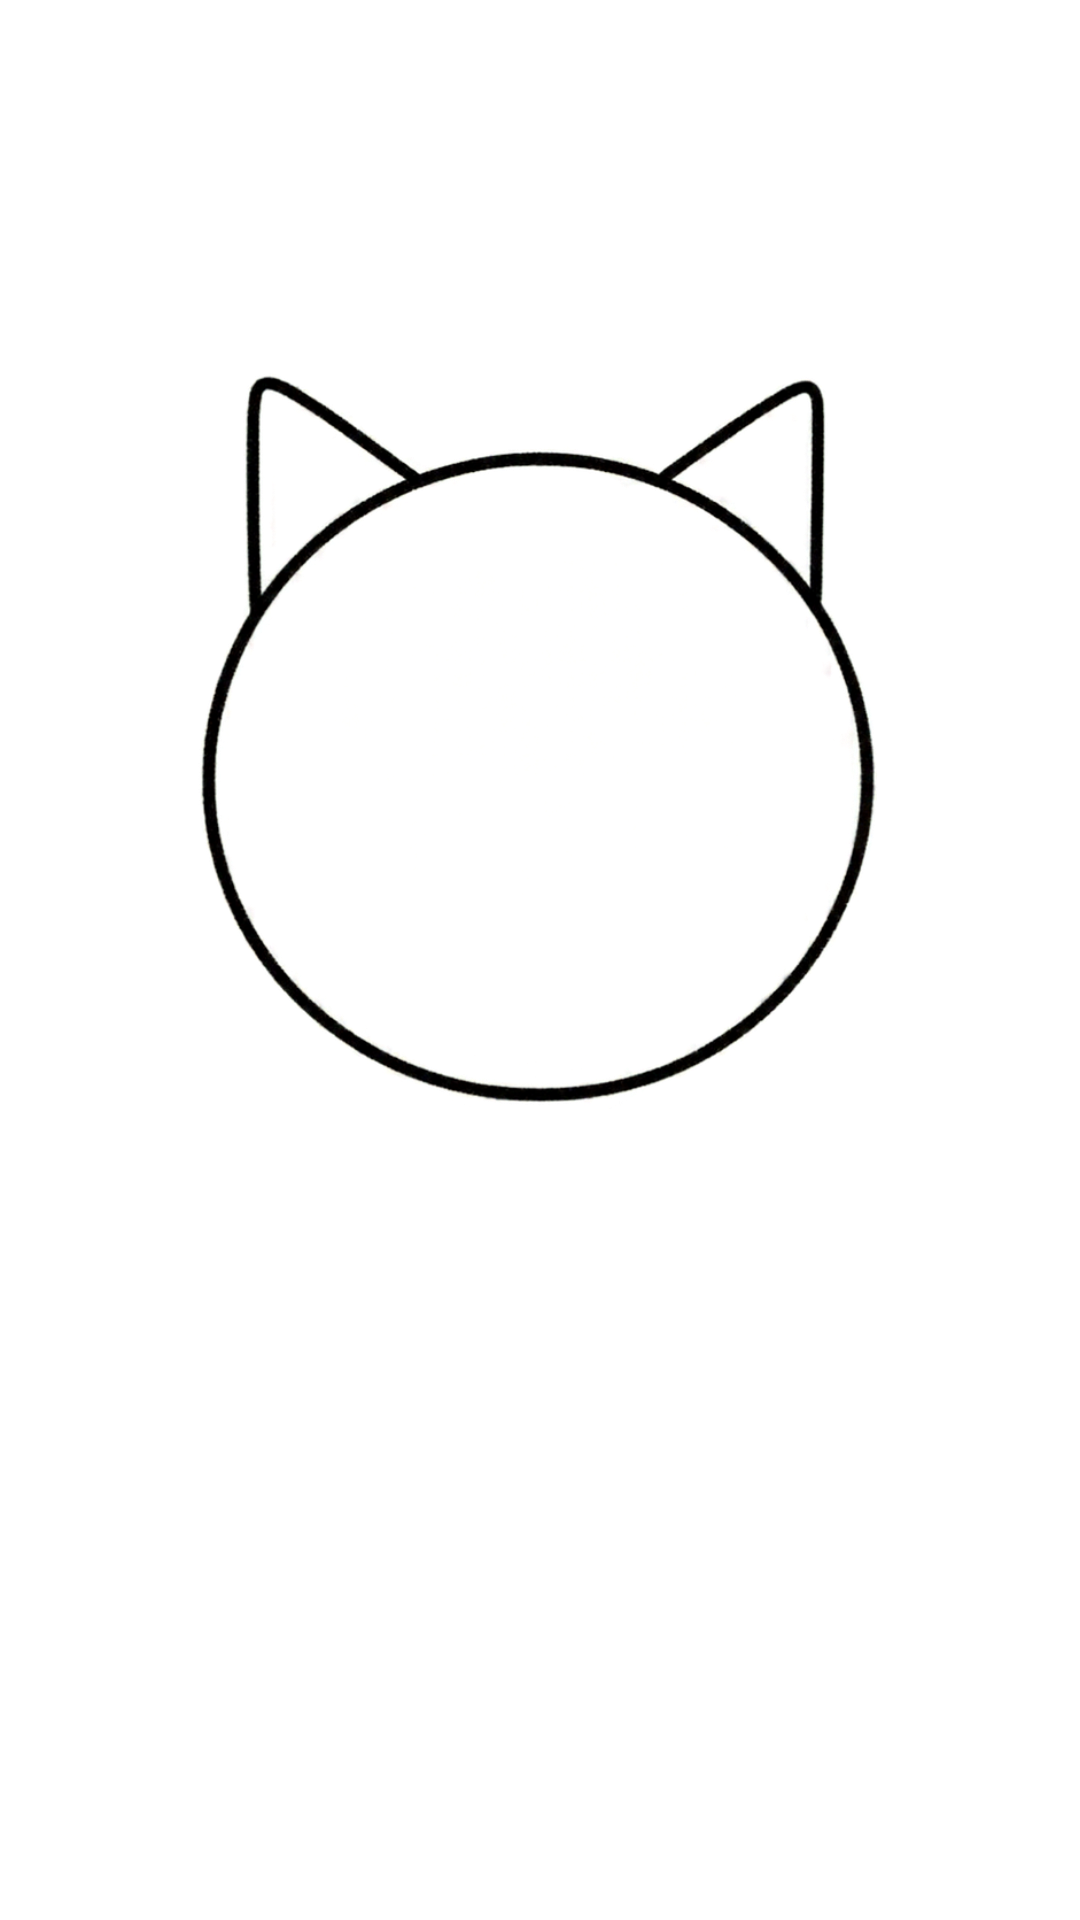
Step 1Draw the headPut your pencil in the middle of your paper, a little above the center. Draw one big round circle, like a ball. Leave lots of space underneath for the body.
Step 2Add the earsAt the top-left of the circle, draw a small triangle pointing up. Draw another triangle on the top-right, the same size. Now your cat has two pointy ears!
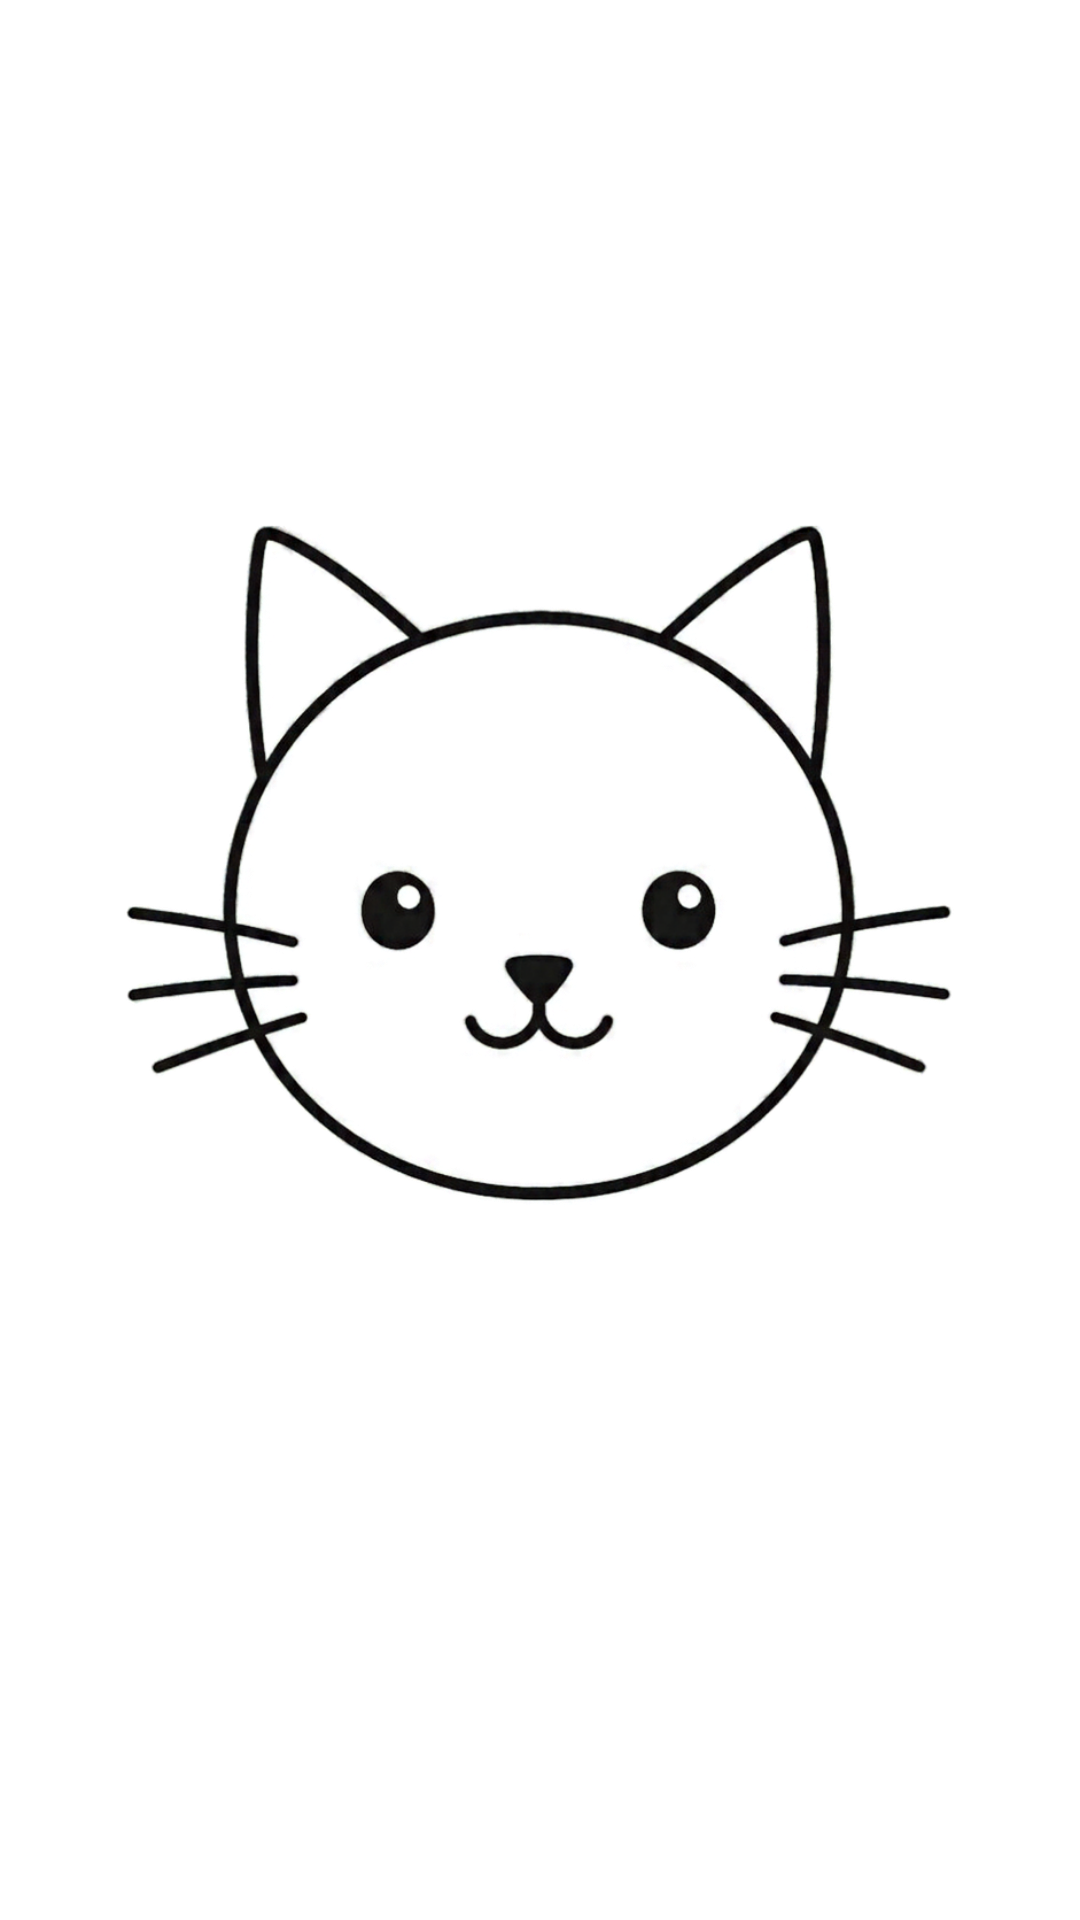
Step 3Make the faceInside the circle, draw two little round eyes, side by side. Below them, draw a tiny upside-down triangle for the nose. Under the nose, add two small curved lines to make a smile.
Step 4Draw the whiskersStart at the left side of the face, on the cheek. Draw three short straight lines going outward, one above the other. Do the same on the right cheek. Now your cat has six whiskers!
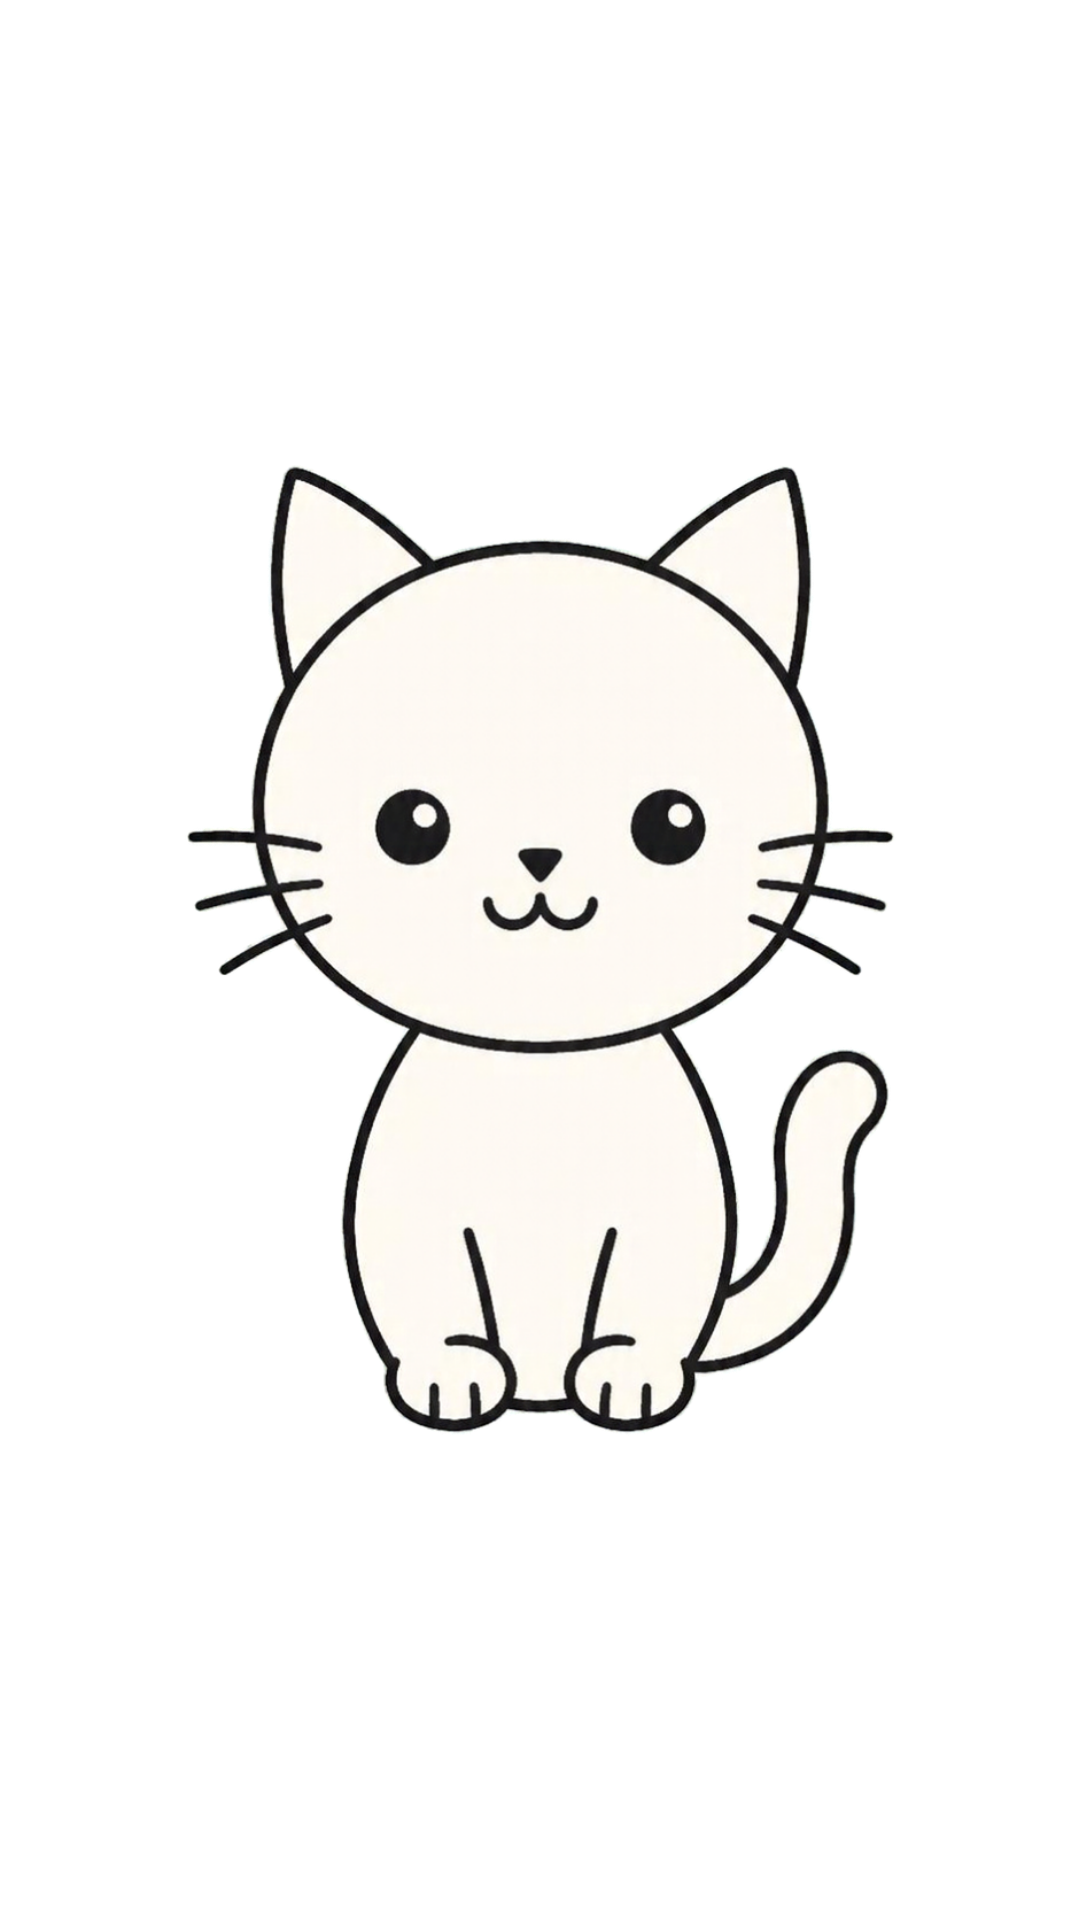
Step 5Draw the body and tailStart just below the head. Draw a long curved line down the left side and another down the right side to make a rounded body. From the bottom of the head, draw two long lines down to the bottom — these are the front legs. At the bottom, draw two small rounded paws next to each other, with two tiny lines inside each paw for the toes. On the right side of the body, draw a long curved line that goes outward and curls upward. Draw another curved line beside it and join the tips to make a thick, curly tail.
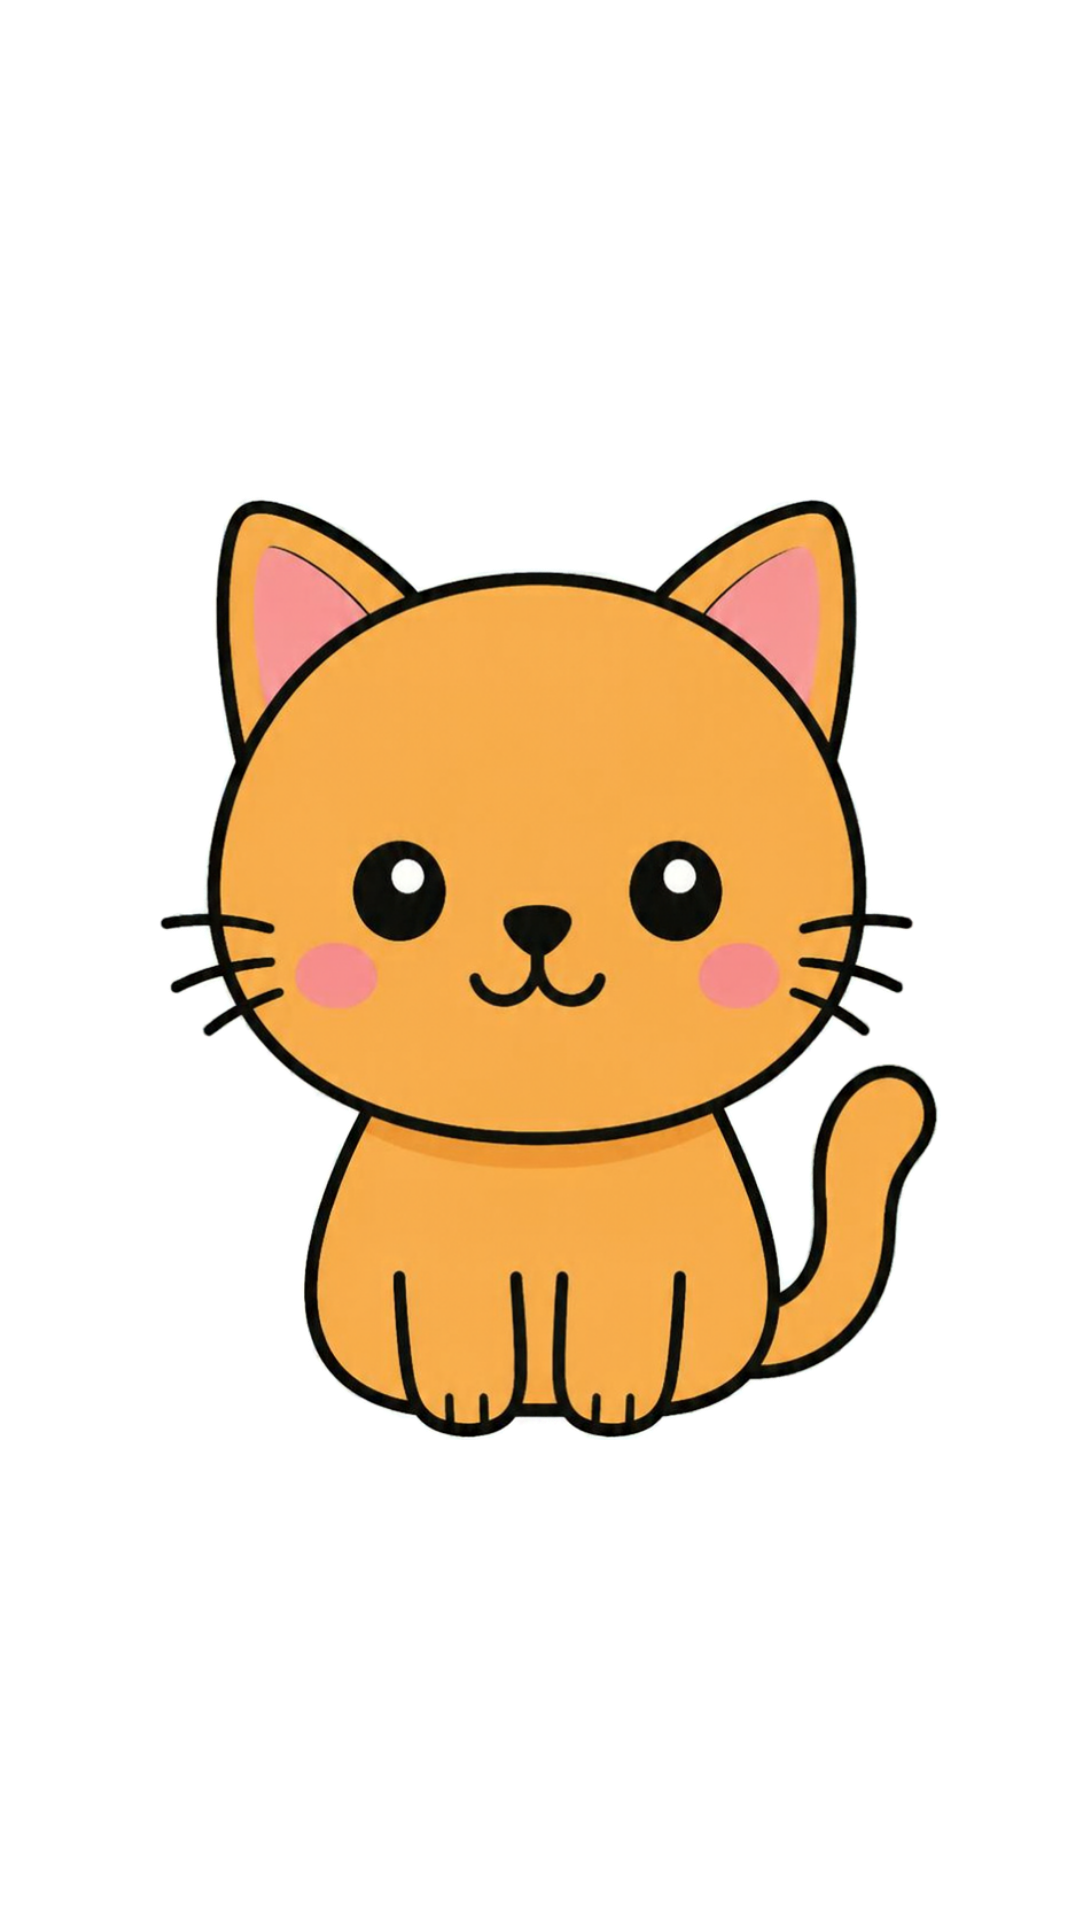
Step 6Color your catPick your favorite crayon. Color the cat’s head, body, paws, and tail. Try orange for the fur and pink for the inside of the ears. You can add two pink circles for cheeks, just like the picture. Leave the eyes and nose dark and easy to see.
For grown-ups: Sit together and draw side by side. A wobbly circle makes the friendliest cat. Paper, a pencil and something to color with are all this lesson needs.