

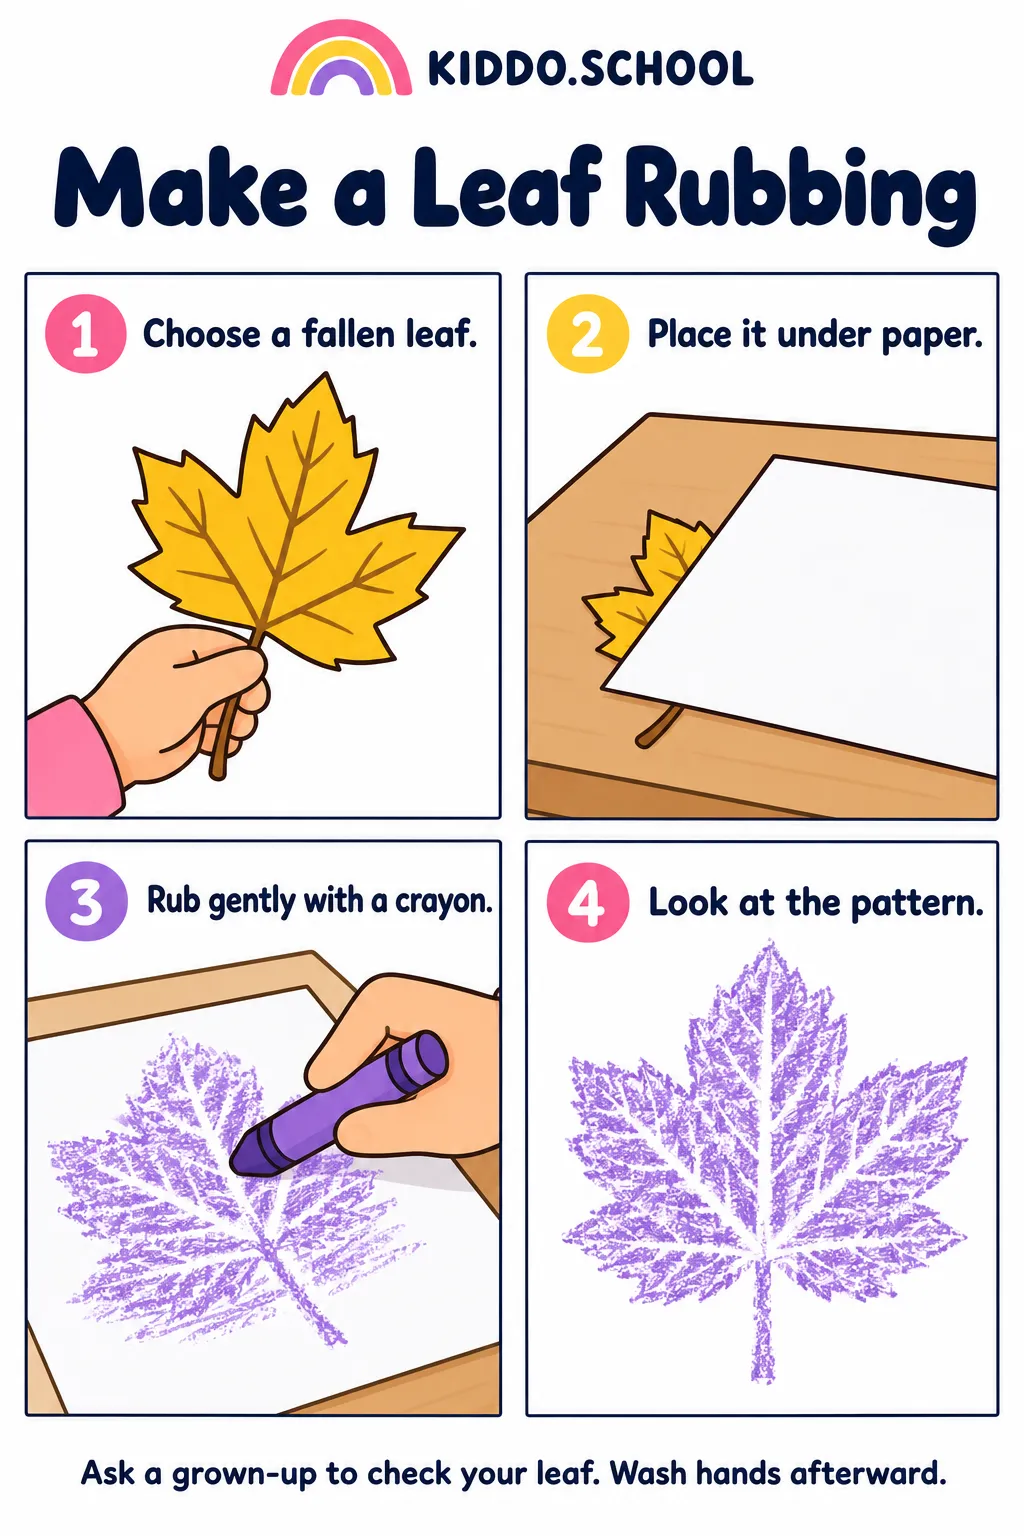
Look, then try.
The picture shows the whole trick. Choose a fallen leaf with strong veins and brush it clean. Lay it flat on the table with the bumpy vein side pointing up, cover it with a thin sheet of paper and hold everything still. Peel the paper off a thick crayon, lay the crayon on its side and rub gently across the paper. The veins and edges will appear like magic. Rub too hard and the leaf may tear through, so start lightly and add a little pressure until the pattern shows.
An adult helps with scissors when cutting out rubbings. Collect fallen leaves from the ground, or pick with permission, and brush off dirt and insects. Wash hands after handling leaves. Nothing you find outside goes in your mouth.
Use a finger, stylus or mouse in each drawing box. Type below it, or ask a grown-up to write your words. Your work stays in this tab. Save before refreshing or leaving.
My first rubbing
Choose a leaf, hold it still and rub. Draw how your rubbing turned out.
Light and hard
Rub the same leaf twice: once with the lightest touch you can, once pressing harder. Draw both results.
My best trick
What helped you most: holding the leaf, rubbing sideways or peeling the crayon? Draw your trick in action.
Your ideas belong here. There is no score.
What are we learning?
A rubbing copies texture rather than shape alone. Noticing which side of the leaf holds the pattern teaches careful observation, and controlling pressure builds steady hands for writing.
Prefer a worksheet?
Open the individual cartoon activity sheet to print or save. Use portrait orientation and fit to page.
Open worksheet to save ↓Try another leaf activity.
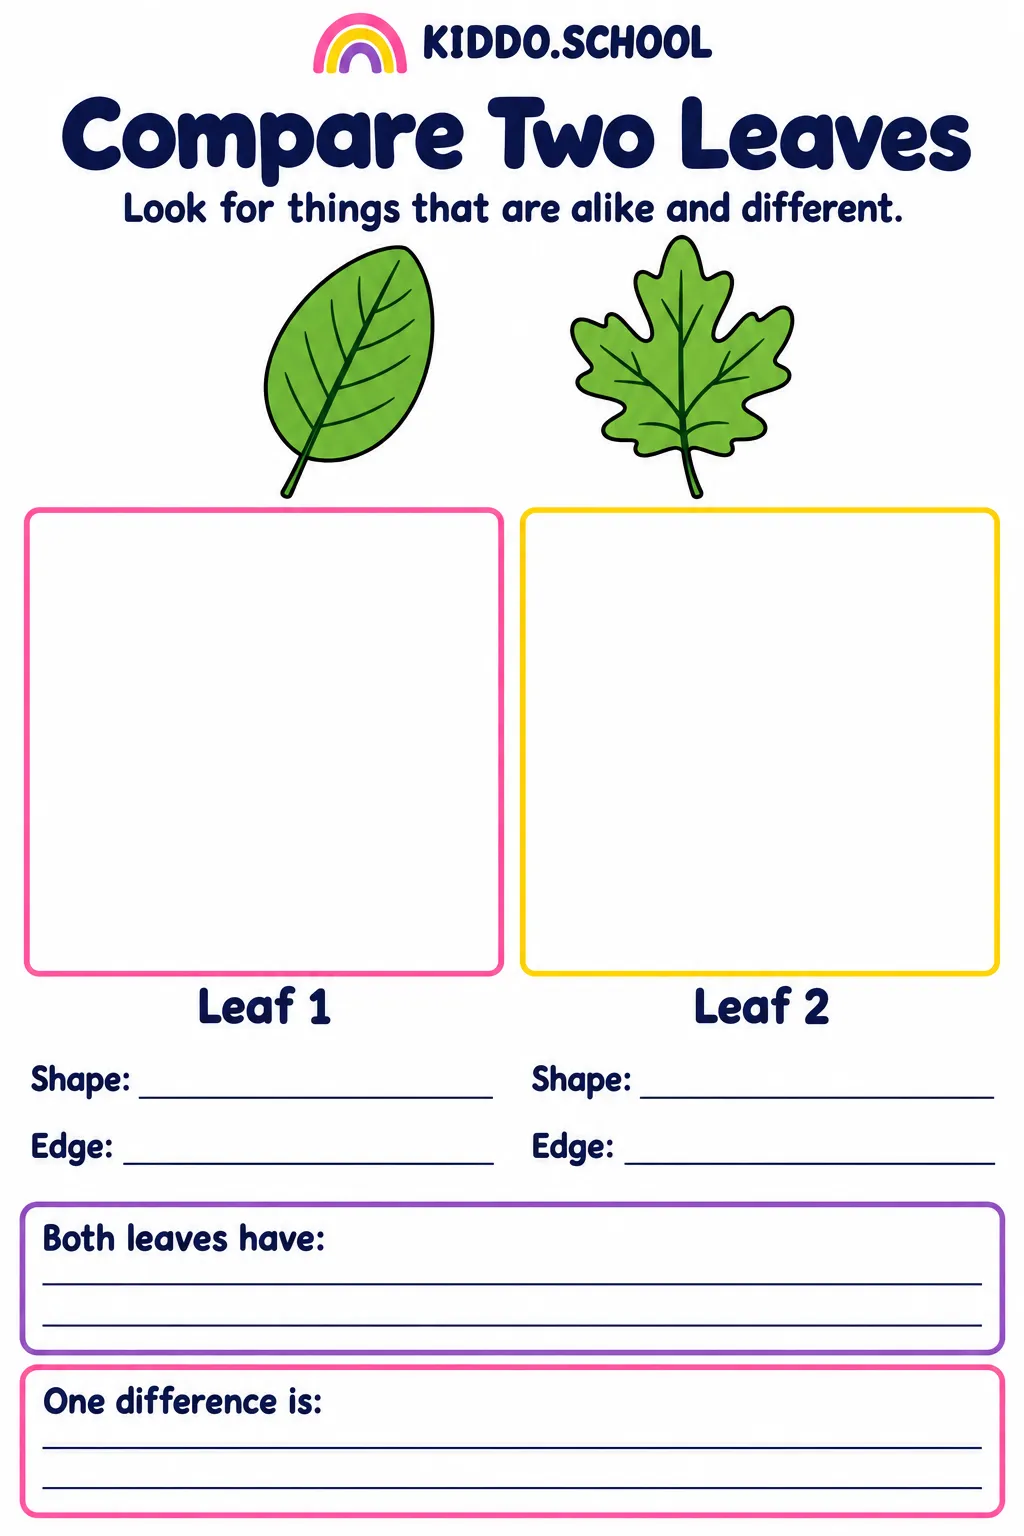 Compare Two Leaves
Put two leaves side by side. What is the same? What is different?
Draw · Type · Save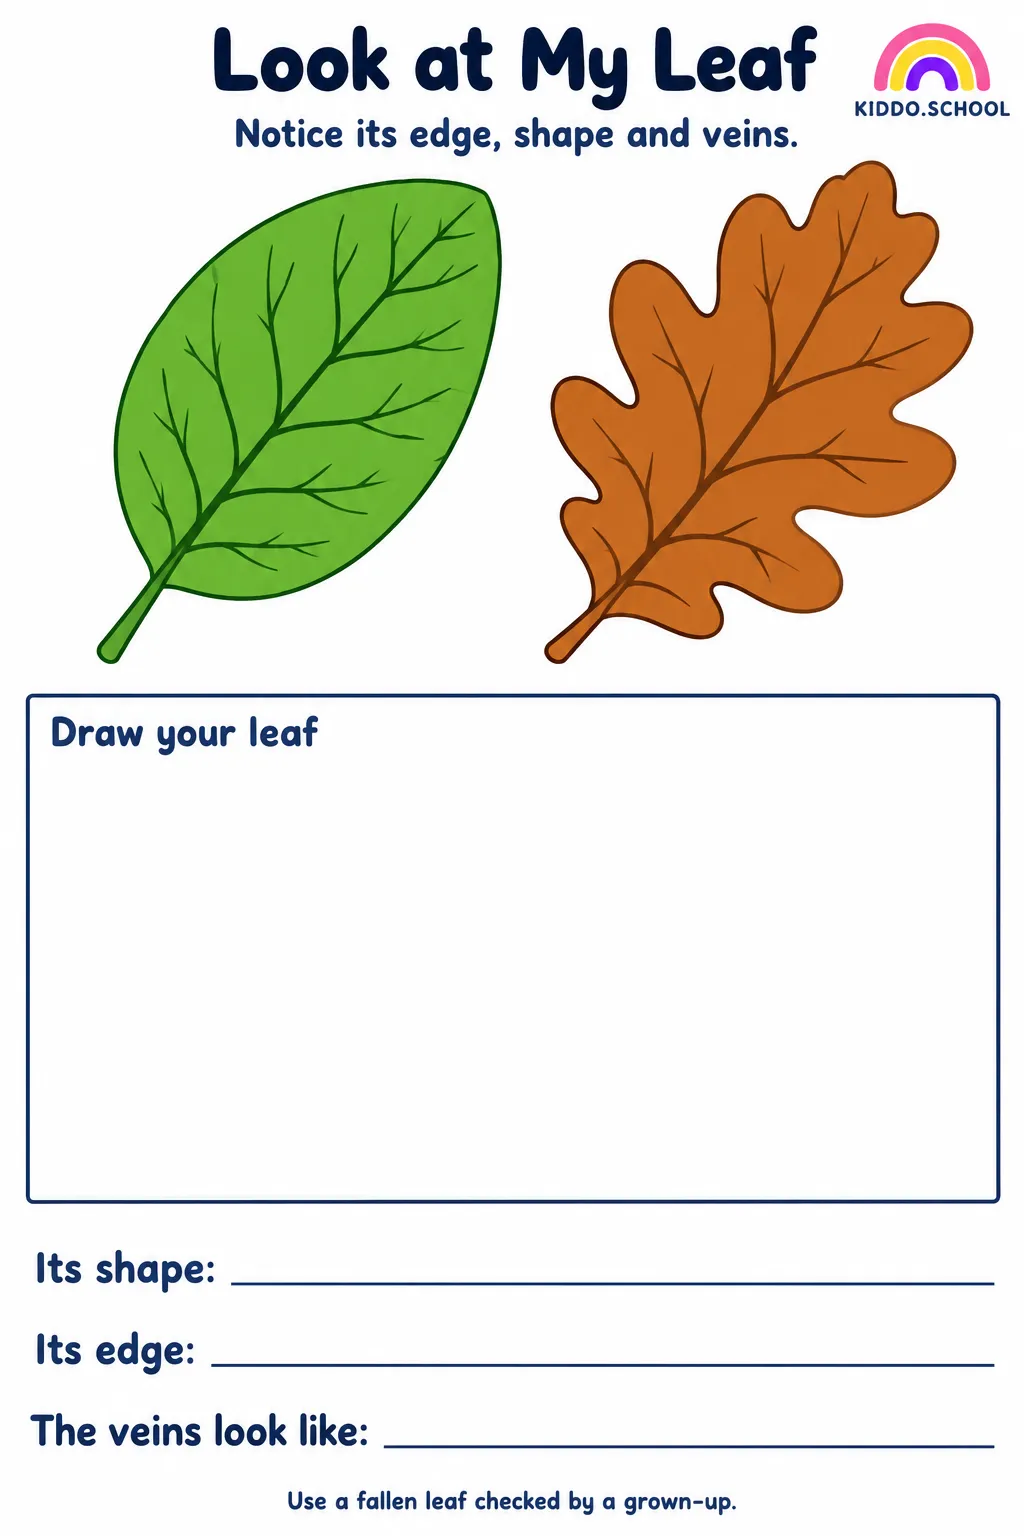 Look Closely at My Leaf
Become a leaf detective: the tip, the edge, the veins and the stem.
Draw · Type · Save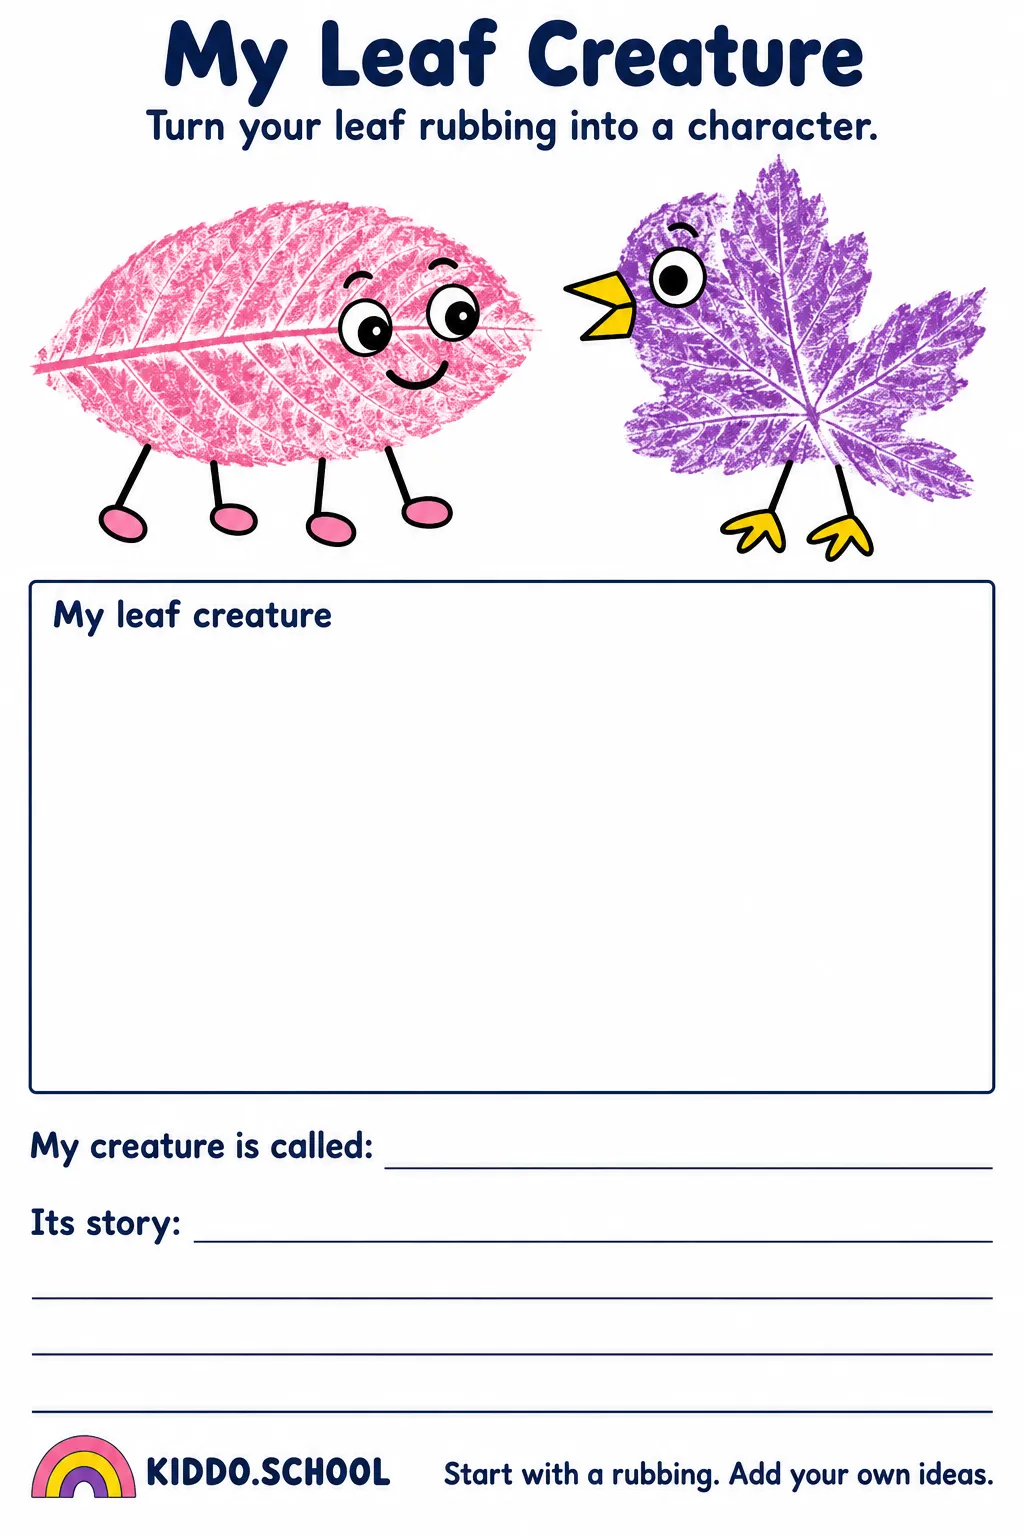 Make a Leaf Creature
Turn your rubbings into wings, scales, fur or feathers.
Draw · Type · Save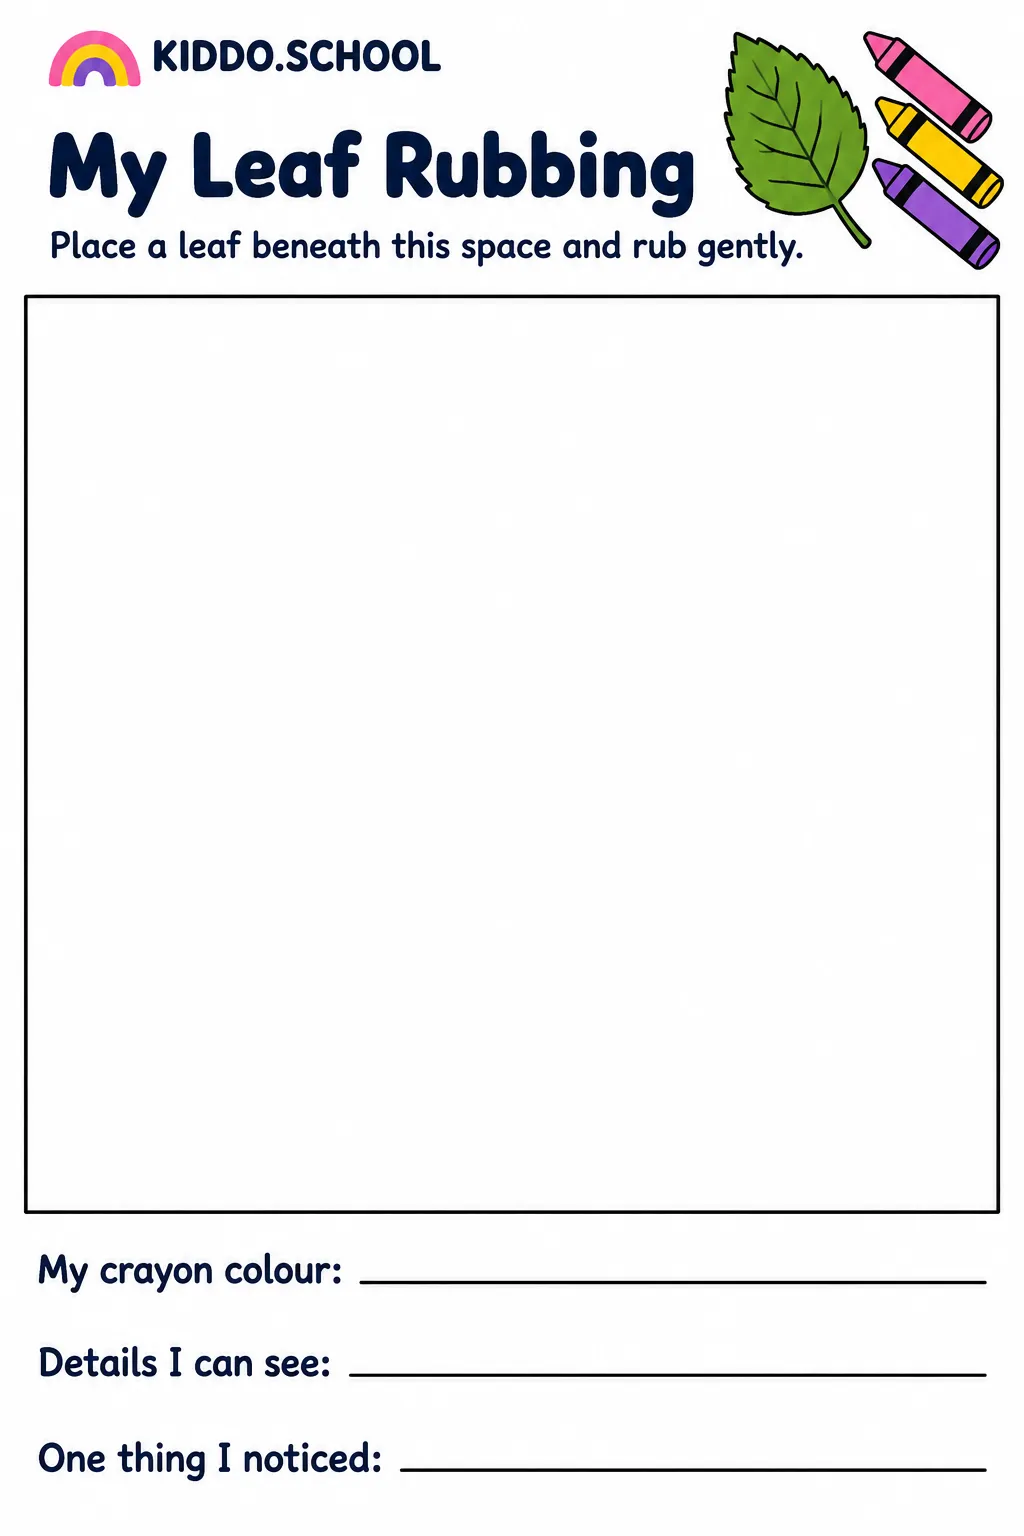 My Leaf Rubbing Art
Finish with one big picture made from every rubbing you have made.
Draw · Type · Save