
Blow Your Nose — a step-by-step lesson for grown-up and child
This lesson teaches nose-blowing the way it is actually learned: first the feeling of air moving out, then one nostril at a time, gently — with the bin-and-wash finish built in from day one.
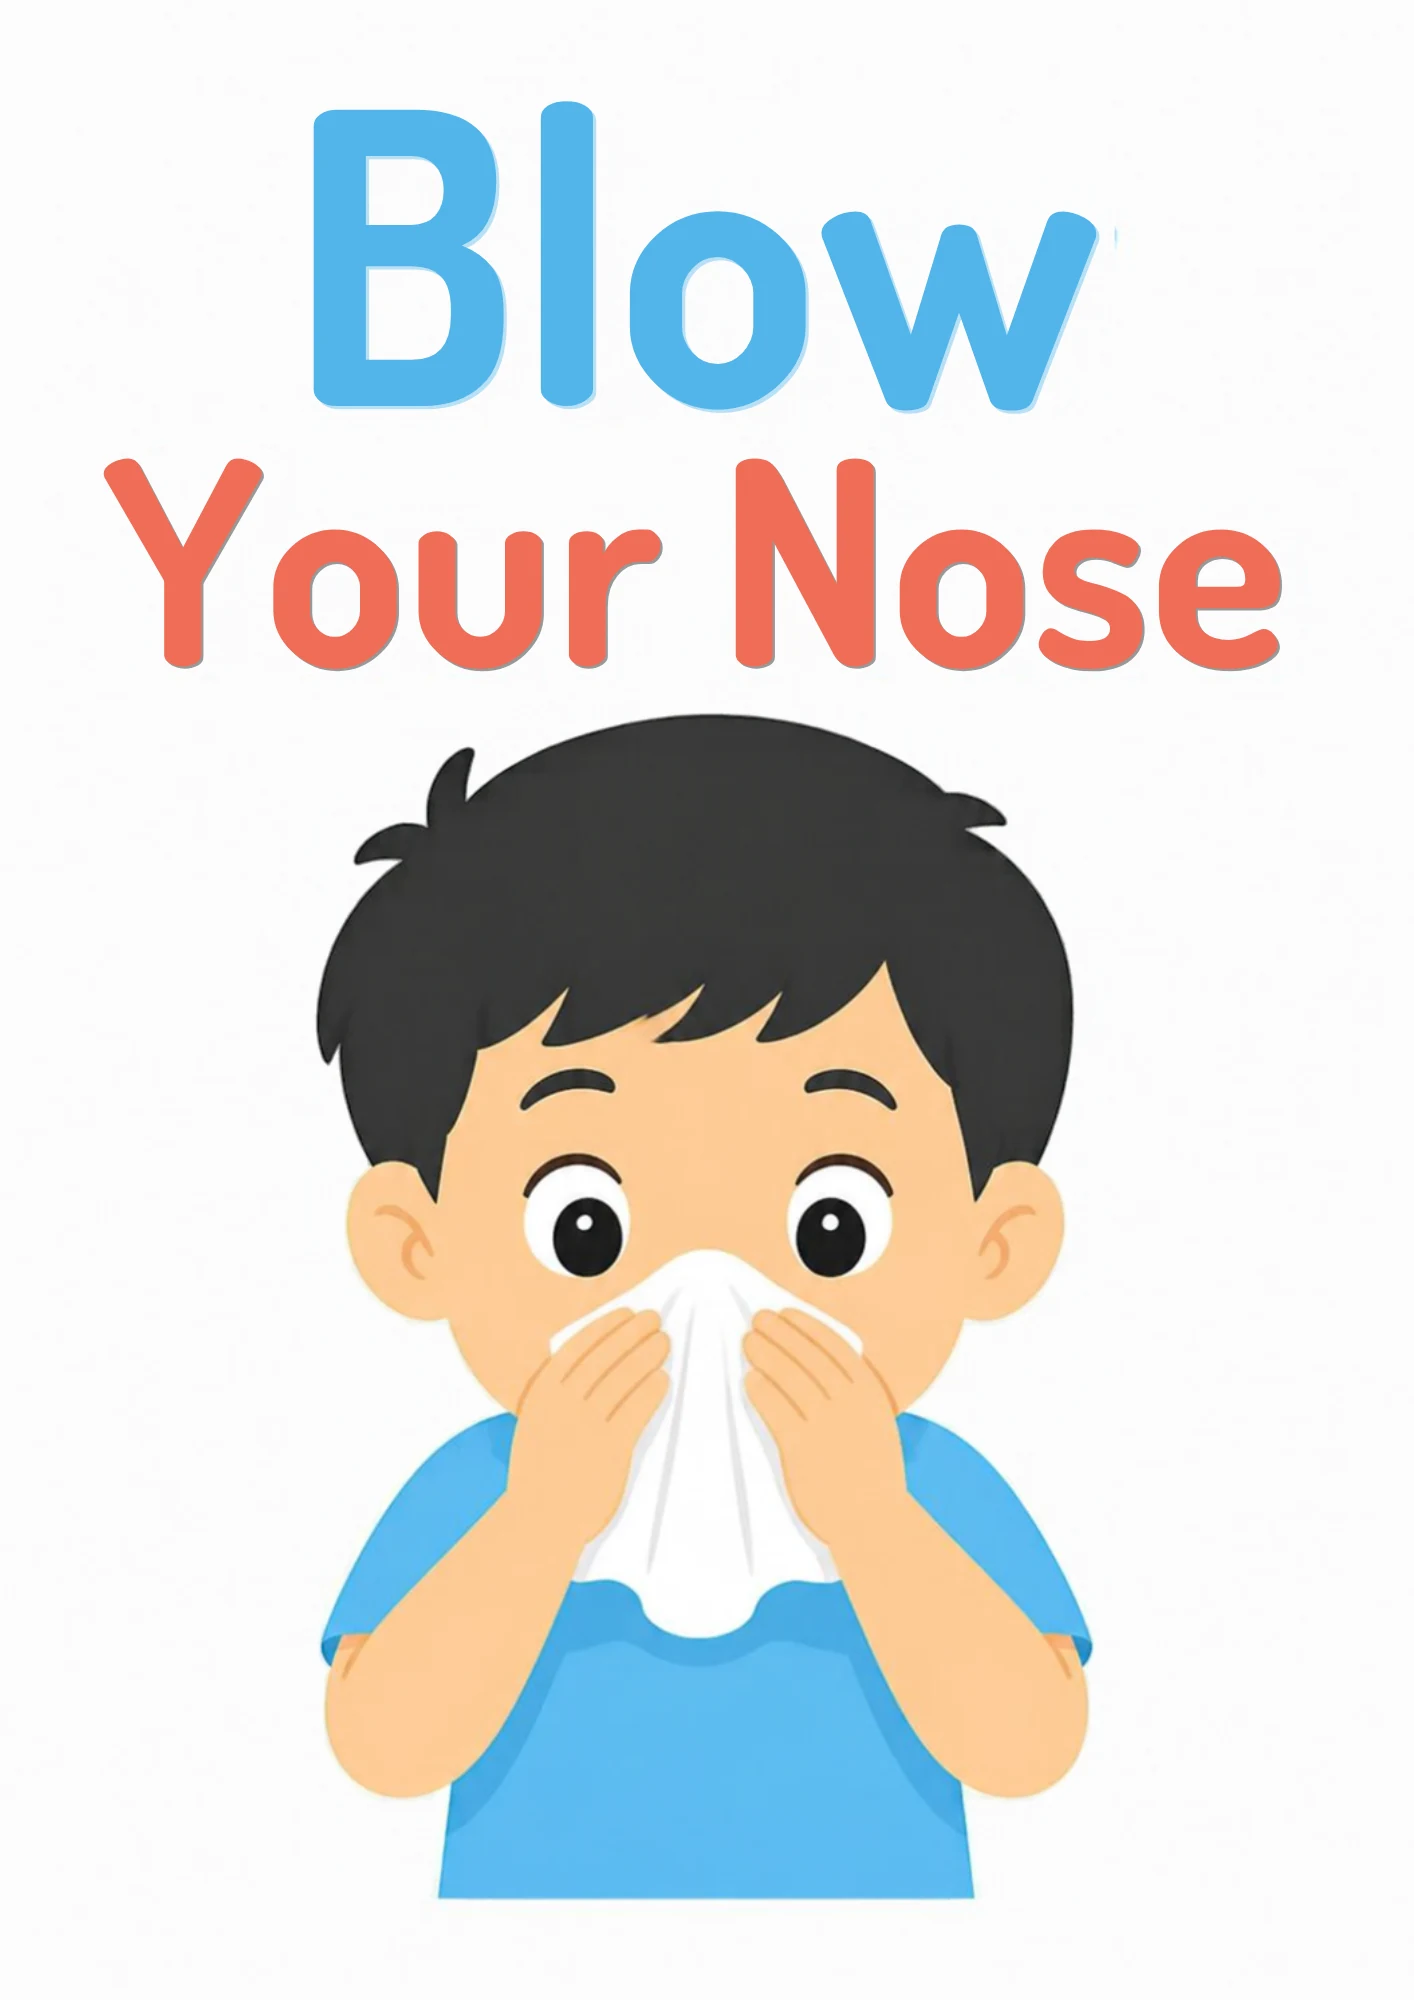
What is this?
Blowing your nose means pressing one nostril closed and pushing air gently out of the other into a tissue — clearing the nose instead of sniffing everything back.
What does it mean?
A blocked nose is mucus that needs a way out; blowing gives it one. Blowing HARD pushes mucus toward the ears and can make them ache — gentle and often beats strong and rare.
What does the child need to know?
The full routine: fetch a tissue, blow one nostril gently, then the other, fold the tissue closed, bin it, wash hands. Tissues live at child height so the whole chain is always reachable.
Why this matters
A child who can clear their own nose hears better, eats better, sleeps better and spreads fewer colds. It is also a skill preschool quietly expects — and the difference shows at circle time.
What it teaches
Breath control (air out on purpose), body awareness, hygiene habits, fine motor (pinching one nostril, folding the tissue) and self-care confidence that carries into every sniffly day after.
Words to learn
tissuenostrilblowgentlebinsniff
Say this to your child
“"Press one side closed and blow gently out the other — like sighing through your nose, not shouting. Soft wins here: blowing hard pushes everything toward your ears and makes them ache. Then the tissue goes in the bin and your hands get soap."”
Step by step
- Show the card: what is the boy holding, and with how many hands? Then demonstrate on yourself, mirror to mirror, so your child can see a nostril up close.
- Teach the feeling before the skill: hold a tissue in front of your child’s mouth and have them blow air OUT — feeling air move is the click that makes nose-blowing make sense.
- Practise one nostril at a time: press the left side closed, gentle blow on the right, then swap.
- Make the finish part of the skill: fold the tissue, drop it in the bin, wash hands — every time.
- Put tissues at child height in every room where noses happen, so the whole chain is always within reach.
Look closer at the picture
Ask your child: what is the boy holding against his nose? How many hands is he using? Where are his eyes looking? Does his face look cross or calm? What happens to the tissue after?
Ask your child
"How many nostrils do we blow at a time?" "What happens if we blow too hard?" "Where does the tissue go afterwards?" "What do we wash after blowing?"
What your child can say or do
"One nostril, gentle blow!" Your child may run the steam game on a teddy, or call from the bathroom: "I binned it all by myself!"
Out in the real world
Cold season is the practice season: the tissue box in the car, the packet in your bag, the preschool hook where their own box hangs. Every sniffly day is the lesson — gentle blow, bin, wash.
Try it together
Feather races: blow feathers across the table with a straw to strengthen out-breath control. Replay the steam game on the first real sniffly day — air moving OUT is the whole skill.
Understanding check
Ask: "How many nostrils at a time? Hard or gentle? What are the three finish moves?" One, gentle, fold-bin-wash = landed.
Parent tips
Cheer the attempt, not the result — early nose-blowing is mostly air noise. Never redo the wipe silently; hand a fresh tissue and let them try again. A child who masters this before the next cold is a different child entirely.
Staying safe
Snot carries colds — the bin-and-wash finish is what keeps the family well, so treat it as firmly as the blow itself. Tissues are the tool for noses, not sleeves or fingers, and clean hands are always the finish.
This lesson pairs with the Blow Your Nose flashcard in the library — print it, show it, keep it on the fridge. Back to Life Skills & Good Habits (Class 32).