

Smiling — a step-by-step lesson for grown-up and child
The set ends on the one card your baby has been performing since week six: the smile. This lesson uses it to close card time the way all good routines close — warmly, and on purpose.
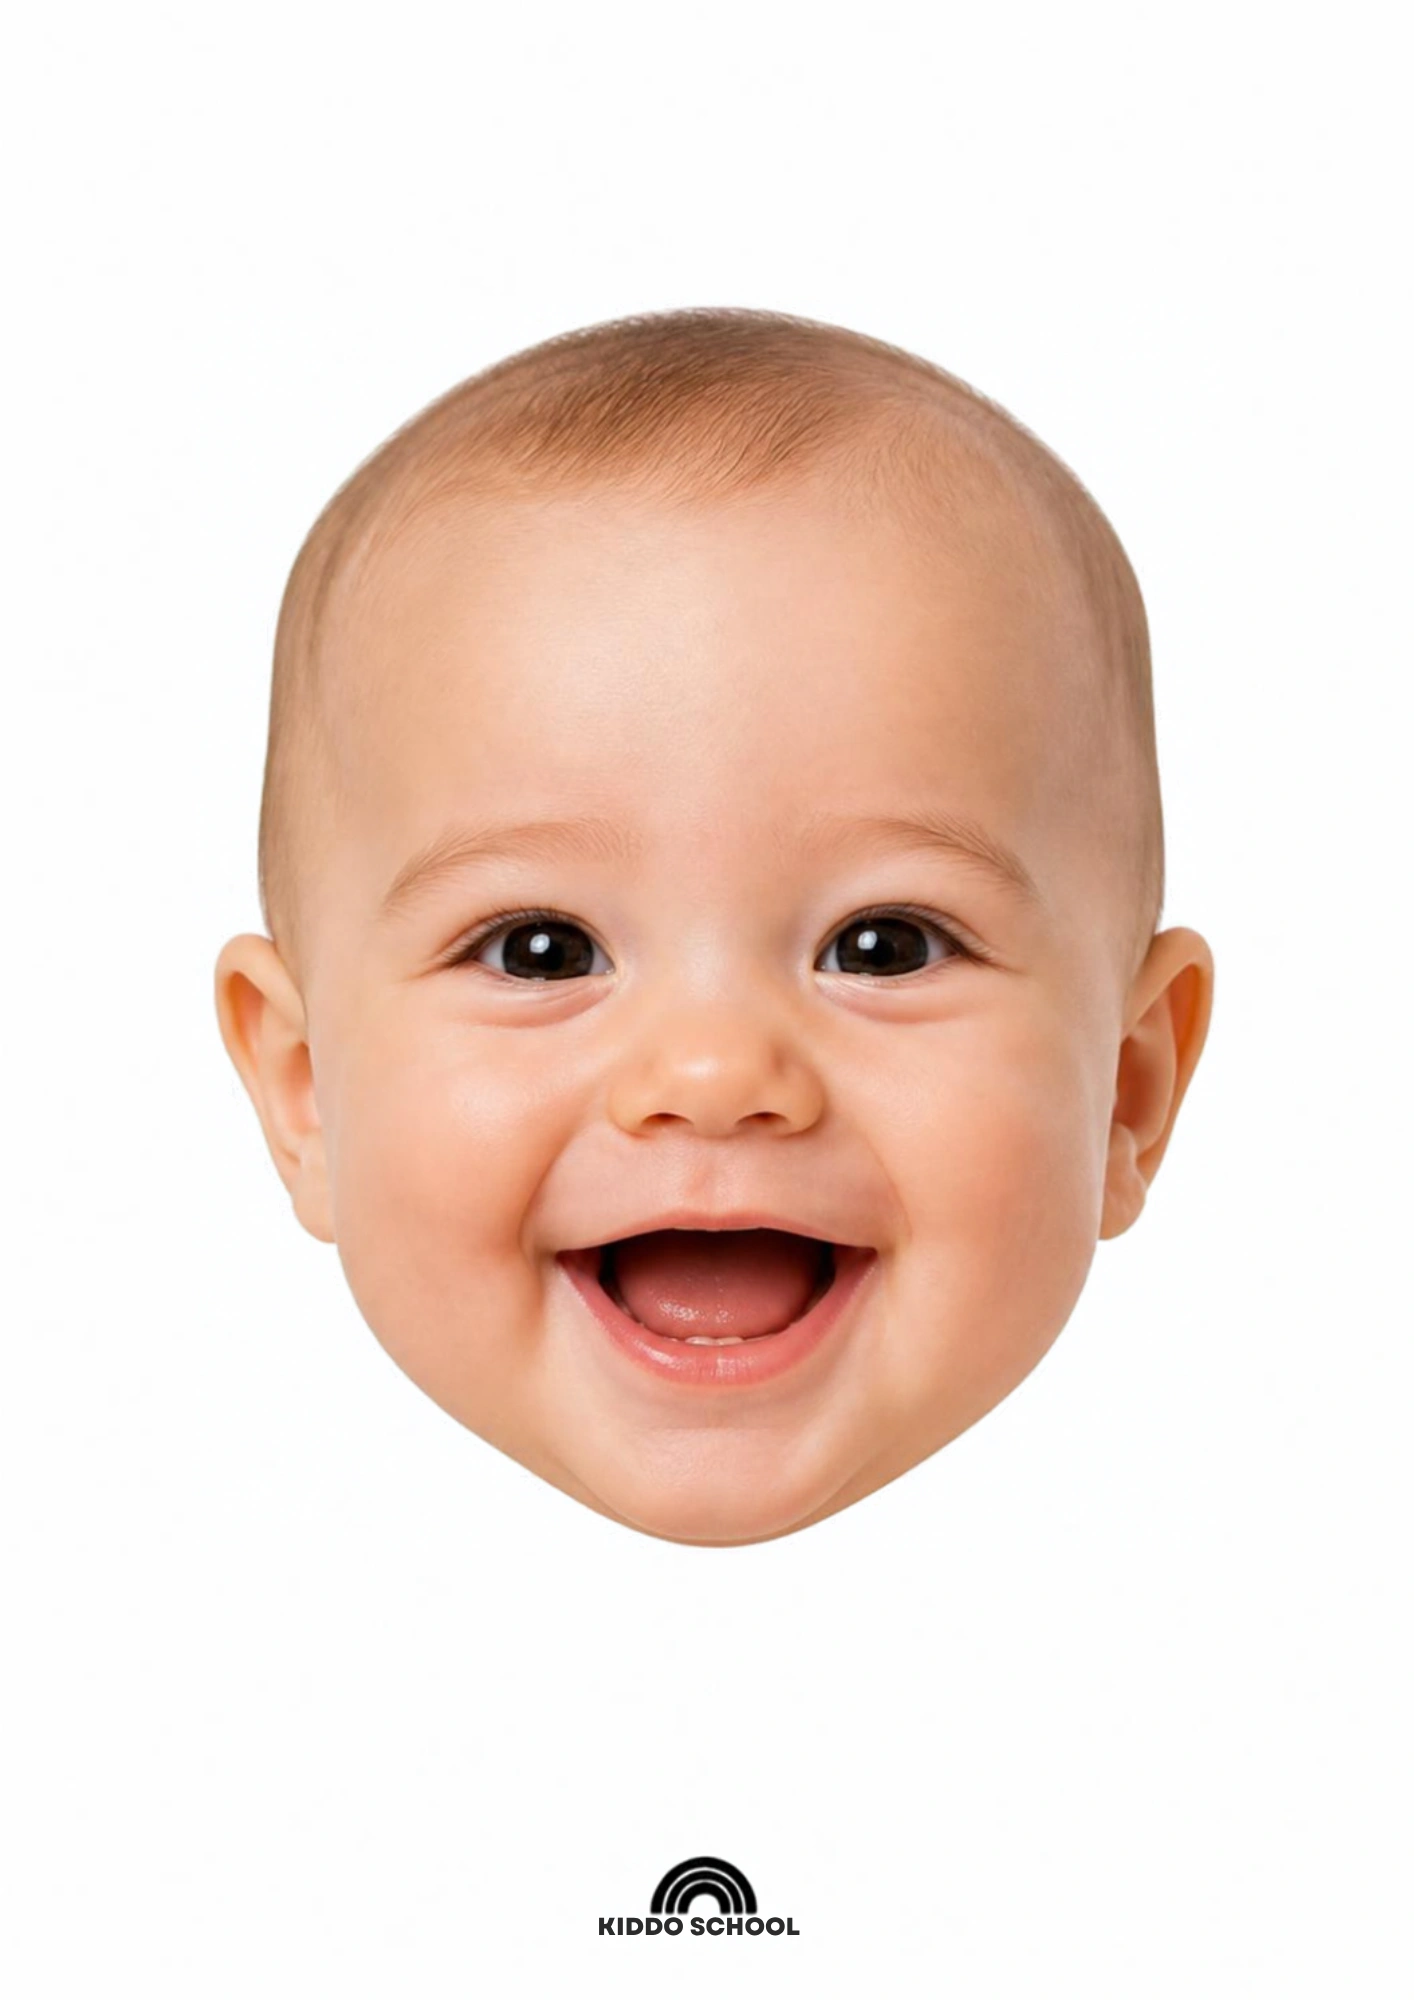
What is this?
Smiling is happiness arriving on the face — an action and a feeling at once. The card shows a big happy smile; your baby, at 9–12 months, owns a whole repertoire: the grin for games, the shy face for strangers, the beam that greets a parent.
What does it mean?
By this age smiles are fully social tools: your baby smiles to greet, to charm, to ask for more of a good game. Naming the smile — "What a smile!" — hands a word to the feeling, and feeling-words are the start of a lifelong conversation.
What does the child need to know?
Mirror it and name it: when the smile arrives, make the same one back and say the word. The mirroring tells your baby the expression was received; the word gives the expression a handle. Both halves together make the lesson.
Why this matters
Ending a card session with a smile on every face is not a gimmick — warm finishes are what make tomorrow easy. Babies remember how sessions felt, and a smiling close is the best advertisement for doing it all again.
What it teaches
Emotional vocabulary, social smiling with intent, mirroring and imitation, and the shared-joy loop that keeps every learning session coming back.
Words to learn
smilehappygrinhellobrightagain
Say this to your child
“"Smiling! What a big, happy smile. Here is the card’s smile — and here is mine. And there is yours, the best one of all. Smiles say hello, smiles say I love this game, smiles say again, please."”
Step by step
- Show the card with a smile already on your face: "Smiling! What a lovely smile."
- Point at the card’s smile, then make the same smile yourself, big and held: card, face, card, face.
- Wait for your baby’s reply — a grin, a scrunch, a full beam — and name it the moment it lands: "Smile! There it is."
- Try the smile in a mirror together if one is near: four smiles in one glass, and your baby will study the doubling happily.
- Close the whole set here: put the cards away smiling, say "all done, smile!", and let the good feeling be the last thing the session says.
Look closer at the picture
The artwork is a big happy smile, wide and friendly, nothing else needed on the card. Say that, then turn to the better exhibit: the live smiles on your lap, arriving for games, greetings and — if you are lucky — the card itself.
Ask your child
Watch what pulls the smiles this week: a game, a face, a returning parent? Wonder aloud: "I wonder if you are smiling at the smile or at me." Both, probably; both is fine.
What your child can say or do
A full open-mouth beam at the card, the shy tuck-in smile for strangers that proves sorting has started, a smile offered and held while waiting for yours back, or a giggle-smile at the mirror — each one is social work, not just sunshine.
Out in the real world
Smiles run the whole day: the one that greets a sibling, the one that charms the checkout assistant, the one that ends a crying fit. Each is a replay — one word, "smile!", and the card lives again.
Try it together
Smile tennis: make a smile, wait, answer the one that comes back, wait again. Long chains are the point — your baby is learning that faces answer faces, which is the game everyone plays for life.
Understanding check
Parent self-check: did you mirror and name at least one smile today, and did card time end warmly rather than in a wriggle-away? The finish you keep is the invitation for tomorrow.
Parent tips
Smiles cannot be commanded, only invited — drop the eager face and simply wear one. If the day was hard and nobody smiled much, fine: the set starts again tomorrow, and it opens with a hand and ends with a smile.
Staying safe
Nothing about smiling needs guarding except the session itself: stop before tiredness turns grumpy, keep the card out of grab-and-gum range, and let the last minute be gentle — happy endings are the safest endings.
This lesson pairs with the Smiling flashcard in the library — print it, show it, keep it on the fridge. Back to First Actions & Body Parts (Baby 2).